The Ultimate Game Boy Restoration Guide: Fix Screens, Shells & Sound
Published on 8/20/2026
The Ultimate Game Boy Restoration Guide: Fix Screens, Shells & Sound
Rescuing an original 1989 Nintendo DMG-01 from a dusty attic or a junk bin is one of the most rewarding projects in vintage gaming. A proper Game Boy restoration focuses on diagnosing hardware faults, neutralising corrosion, and preserving authentic original components before gutting the unit for aftermarket parts. By testing the motherboard, reflowing the screen, and deep-cleaning the shell, you will walk away with a piece of handheld history brought back to factory-fresh condition.
Identifying Hardware Faults Before Your Game Boy Restoration
Before unscrewing the casing, a visual and auditory inspection will reveal exactly what your Game Boy restoration requires. Attempting to power on the system and observing the physical condition of the exterior can save you hours of unnecessary troubleshooting. Check these primary failure points before ordering any replacement parts:
- Battery Compartment: Inspect the internal springs for residue. Flaky blue or white crust indicates alkaline battery leakage, whereas standard orange rust is simply moisture oxidisation.
- Screen Condition: Blank columns cutting vertically through the Nintendo logo are fixable vertical screen lines caused by degraded solder joints. However, dark black blobs, known as screen rot, or missing horizontal lines indicate permanent panel failures.
- Speaker Output: A faint, low hum from the bottom corner means the audio amplifier works but the speaker cone is blown. Dead silence usually points to a mechanical switch stuck inside the headphone jack.
Because Nintendo engineered the DMG-01 to be completely region-free, European collectors have a massive advantage when sourcing replacement components. You can safely import heavily scratched or non-working Japanese junk units to harvest authentic motherboards, screens, and power regulators for your repairs.
Essential Tools for Nintendo Handheld Repair
Successful retro console cleaning and repair demands the right equipment, as using standard household tools will strip vintage screws and damage the fragile internal components. The exterior shell of the DMG-01 is secured with proprietary Nintendo security screws, while the internal printed circuit boards use standard cross-heads. Attempting to force a flathead screwdriver into these slots will permanently ruin the plastic housing.
Chemical cleaning agents are equally important for safe Game Boy motherboard repair. Avoid standard household water or weak rubbing alcohol; you need high-grade solutions to dissolve thirty years of grime and corrosion without causing electrical shorts. A temperature-controlled soldering station is the final piece of the puzzle, allowing you to reflow delicate ribbon cables safely.
| Repair Tool | Primary Function | Why It Is Essential |
|---|---|---|
| Tri-wing (Y0) Screwdriver | Opening the exterior plastic shell | Fits Nintendo’s proprietary security screws without stripping the plastic housing. |
| Phillips (JIS) Screwdriver | Removing internal motherboards | Japanese Industrial Standard cross-heads prevent cam-out on the internal PCB screws. |
| 99% Isopropyl Alcohol (IPA) | Cleaning PCBs and power switches | Evaporates rapidly without leaving conductive residue or moisture on the motherboard. |
| Distilled White Vinegar | Neutralising alkaline battery leaks | Chemically counters highly basic alkaline corrosion before IPA cleaning. |
| Adjustable Soldering Iron | Screen repair and speaker fitting | Precise temperature control prevents melting the delicate plastic LCD ribbon cables. |
Neutralising Battery Leaks and Restoring Power
A console that refuses to power on is usually suffering from power delivery issues rather than a dead processor. If you find blue or white alkaline crust on the battery springs, never use water or plain alcohol to clean it. You must first apply white vinegar with a cotton swab to chemically neutralise the alkaline corrosion, allowing it to fizz and dissolve before wiping it away. Alkaline fluid can travel along the traces of the PCB, slowly eating away at the copper, so addressing this immediately is crucial for a successful Game Boy restoration.
Once the acid is neutralised, you can safely clean Game Boy battery contacts with 99% IPA to remove the remaining vinegar and grime. If the battery terminals are completely rusted through, brittle, or snapping off, you must desolder them from the internal power board entirely. Installing OEM-spec replacement contacts ensures a stable 6-volt supply reaches the mainboard without dangerous voltage drops.
Another primary culprit for a dead console is a heavily oxidised internal power switch. Dust and carbon buildup inside the sliding mechanism will prevent the battery supply from reaching the motherboard, making the console appear entirely dead. To fix this, flood the power switch housing with 99% IPA and toggle the plastic slider rapidly back and forth to break down the internal carbon deposits.
Shop the gear from this story
Hand-matched to what you’re reading — tested, and covered by our warranty.
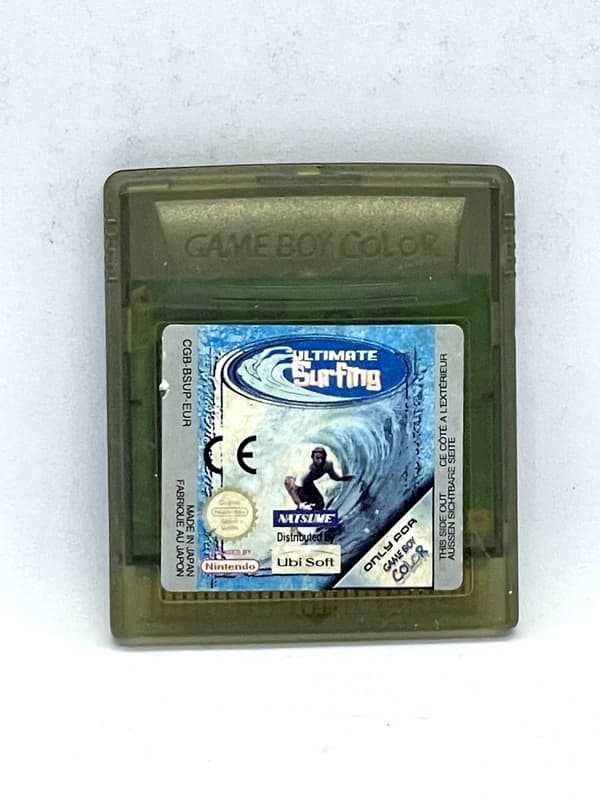

Reflowing the LCD to Fix Vertical Screen Lines
Blank columns missing from your display do not mean the LCD panel is dead. To fix Game Boy vertical lines, you need to address the degraded solder joints where the ribbon cable connects to the glass beneath the screen bezel. Over decades of thermal expansion and contraction, these microscopic joints crack and break the electrical connection.
To execute a DMG-01 screen repair, you must remove the front plastic shell and expose the screen. Power the console on and gently run a soldering iron horizontally across the black rubber strip directly below the screen. Keep your iron set to a low heat of around 200 degrees Celsius. As the heat penetrates the rubber, it reflows the cracked solder underneath, and you will see the missing vertical pixels slowly reappear on the live display.
Patience is critical during this reflow process. Never hold the soldering iron in one single place for too long, or you risk melting the plastic ribbon cable and ruining the screen permanently. Keep the iron moving in slow, sweeping motions until the contrast is perfectly solid. Note that horizontal lines indicate a physical break in the side ribbon cable, which is generally considered unfixable and means the screen is beyond saving.
Diagnosing Audio Failures and Replacing the Speaker
Game Boy audio issues are incredibly common, but a silent console rarely means a dead sound chip. If the audio works perfectly when you plug in headphones but the external speaker remains mute, the mechanical switch inside the headphone jack is likely at fault. This tiny metal leaf switch detects when a headphone jack is inserted and physically cuts power to the external speaker.
Over time, dirt and oxidisation force this leaf switch to stick in the 'open' position, tricking the console into thinking headphones are permanently connected. Clean the inside of the headphone jack thoroughly with 99% IPA and a tiny interdental brush to unstick the mechanism. This simple cleaning step often restores external audio immediately without any soldering required.
If the internal switch is perfectly clean but the speaker itself has a physically torn cone or a blown voice coil, a replacement is necessary. To replace Game Boy speaker components, you only need to perform a highly beginner-friendly soldering job. Simply desolder the two audio wires from the old unit, attach them to the identical pads on the replacement speaker, and slot it back into the circular cutout in the front housing.
OEM Shell Preservation vs. Aftermarket Replacements
Preserving the original aesthetic of the DMG-01 is a priority for serious collectors. Original grey shells that have yellowed from UV exposure can be restored using the retrobrighting method. This process involves coating the disassembled plastic shell in a hydrogen peroxide cream and exposing it to UV light, though it is worth noting this chemical reaction can make the vintage plastic slightly more brittle over time.
Keep the collection going
More retro finds picked to match this article.
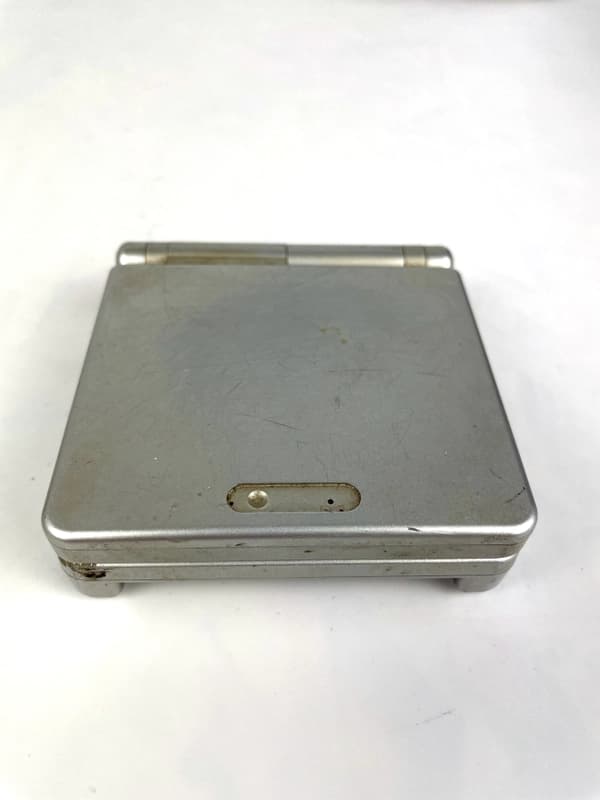
Keep reading
More stories from the Retrobroker blog.
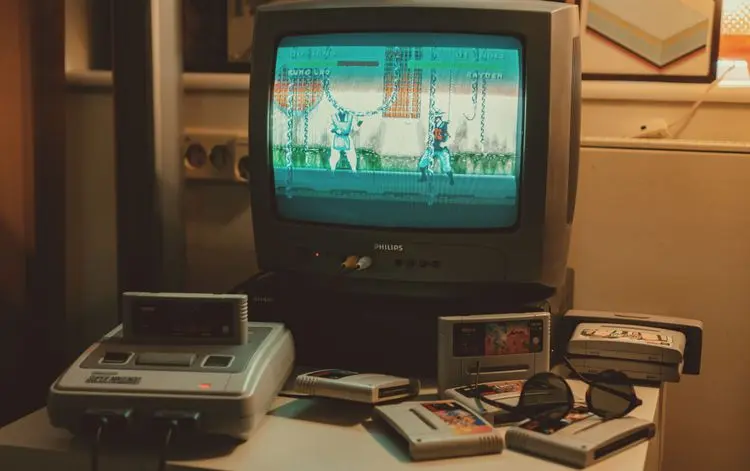
PAL vs NTSC-U vs NTSC-J: Understanding Video Game Region Codes
Unravel the differences between PAL, NTSC-U, and NTSC-J video game regions. Discover how region codes impact gameplay and compatibility. Start your retro gaming journey today!
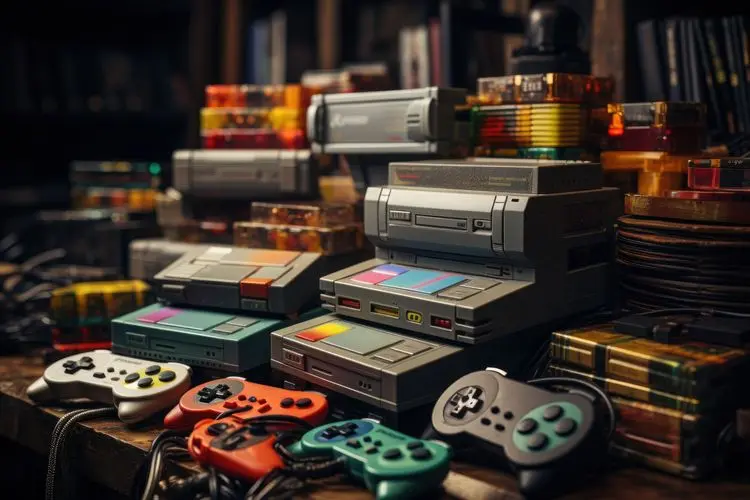
Unlocking Nostalgia: How to Start Your Own Retro Gaming Collection
Discover the joy of retro gaming collection. Tips for beginners. Nostalgic journey through gaming history. Start your adventure today!
Awaiting New Challengers
Join The Bounty Board
Get exclusive first access to rare restocks, graded drops, and secret discount codes before anyone else.