Retro Game Collecting for Beginners: Start Under $200 in Europe
Published on October 14, 2026
Retro Game Collecting for Beginners: Start Under $200 in Europe
Building an authentic retro gaming setup does not require thousands of euros or a room full of rare cardboard boxes. Our guide to retro game collecting for beginners breaks down exactly how to spend your first $200 (or €200) in the European market to get a reliable console, crisp video output on a modern television, and a stack of great games without falling for fake cartridges or region-lock traps.
How to Split Your First $200: Hardware, Cables, and Games
The biggest mistake newcomers make in budget retro game collecting is spending almost their entire budget on a bare console or a single expensive childhood game. Without the right power supply, a controller with tight analogue sticks, and a way to connect the system to a modern television, that console is just a plastic paperweight.
To get an immediately playable setup under $200/€200, we recommend the 50/20/30 rule:
50% (roughly €100) for Hardware: A tested base console, an original first-party controller, a genuine power brick, and a memory card if the system requires one.
20% (roughly €40) for Video Cables and Maintenance: Modern European TVs rarely include analogue inputs anymore, making a proper RGB SCART cable, Component cable, or HDMI adapter a mandatory day-one expense.
30% (roughly €60) for 3 to 5 Starter Games: Enough budget to pick up several classic, high-replayability titles by focusing on common releases rather than rare collector pieces.
Discipline is essential during your first month. Stick to one platform initially rather than buying three cheap, untested consoles from a boot sale that lack proprietary power bricks or AV leads. Tracking down genuine replacement power supplies and controllers separately almost always costs more than buying a complete, tested console bundle upfront.
The Best Entry-Level Consoles for PAL Collectors
When looking at the cheapest retro consoles to collect for, systems with built-in backward compatibility offer the best value for money. Buying one piece of hardware that natively plays two generations of games immediately doubles your library options while keeping living room clutter to a minimum.
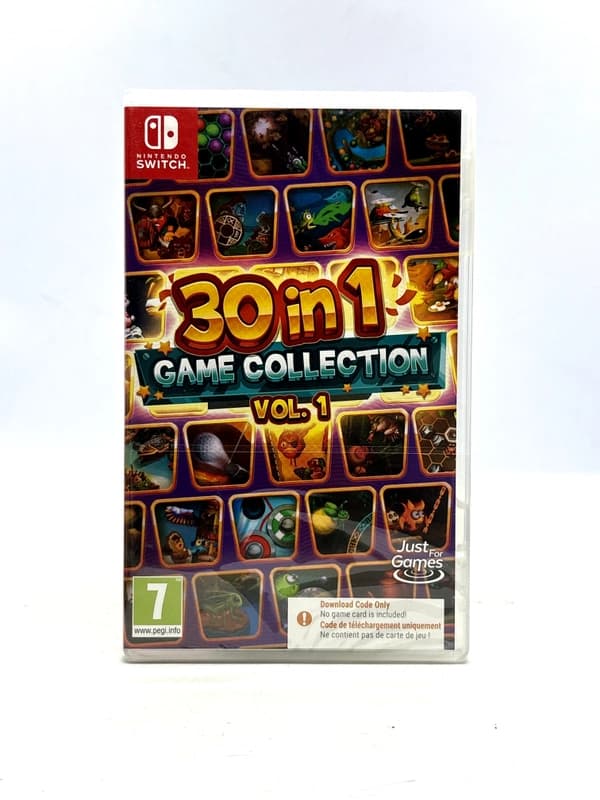
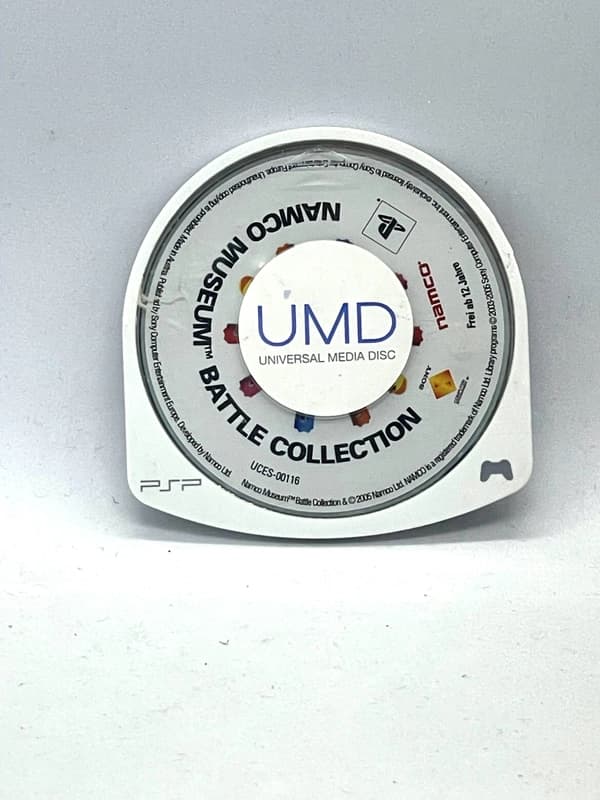
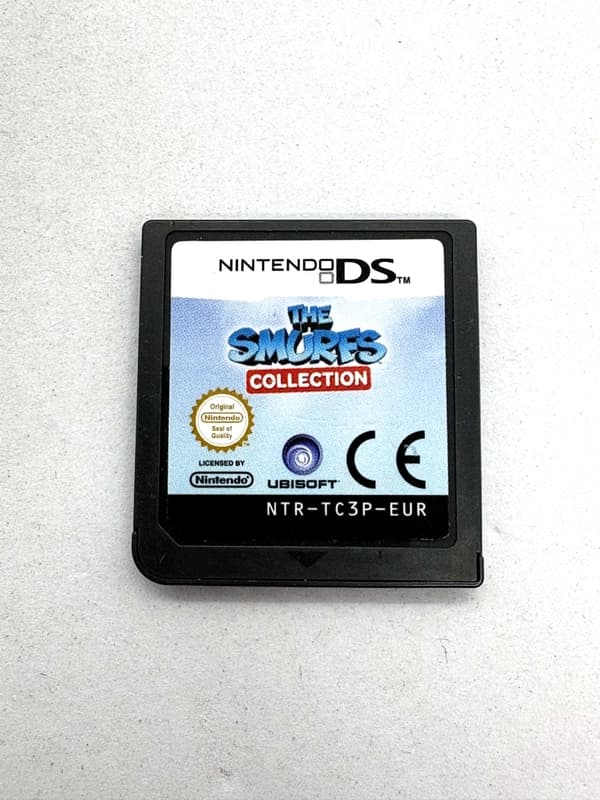
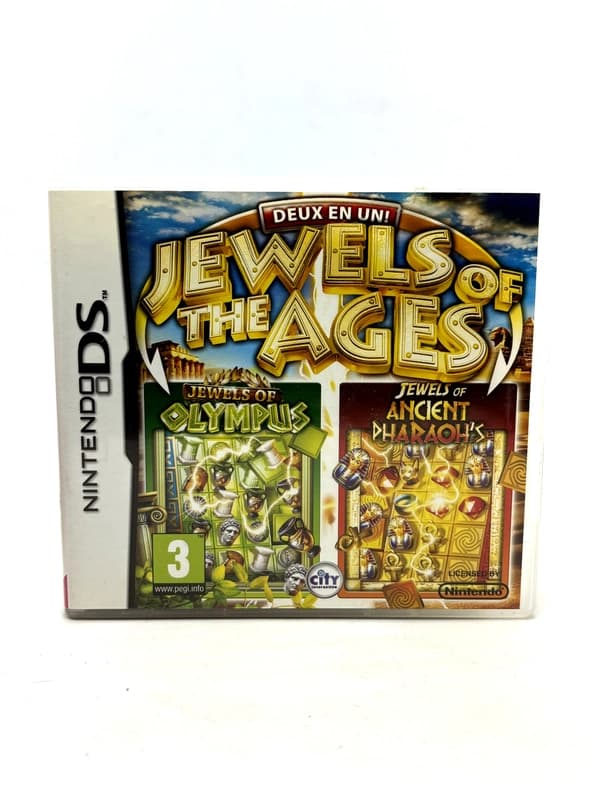
Shop the gear from this story
Hand-matched to what you’re reading — tested, and covered by our warranty.
Loose, Boxed, or CIB: Where Beginners Should Spend
Understanding grading terminology helps you stretch your starter budget without buying damaged goods. In retro game collecting for beginners, condition usually falls into three tiers:
Loose: The cartridge or optical disc by itself, with no case or paperwork.
Boxed: The original game inside its original retail box or plastic case, but missing the instruction booklet.
CIB (Complete in Box): The game, original retail box, instruction manual, and any mandatory inner tray. (Hardcore collectors sometimes reserve CIB for copies that also include every promotional poster and warranty card).
Deciding between CIB vs loose retro games depends entirely on the storage medium. For Nintendo cartridge systems (NES, SNES, N64, Game Boy, GBA), games were sold in thin cardboard boxes that millions of children threw straight into the bin. Today, a cardboard box and manual regularly triple or quadruple the price of a loose cartridge. Beginners should buy loose cartridges for Nintendo systems to maximise their playable library.
Conversely, you should always buy Boxed or CIB for optical disc systems (PS1, PS2, Sega Saturn, Dreamcast, GameCube, Wii) and Sega Mega Drive cartridges. Loose discs scratch easily, and PS1 cases or Mega Drive clamshells were durable enough that complete copies often cost barely a few euros more than loose discs.
Finally, embrace budget re-releases. Sony Platinum, Nintendo Player's Choice, and Xbox Classics releases may have silver or yellow borders on the spine that some purists dislike, but the disc inside is functionally identical—and occasionally contains patches that fix game-breaking bugs found on the original black-label print.
Connecting Retro Consoles to a Modern TV Without Breaking the Bank
Nothing kills retro nostalgia faster than plugging a console into a 4K Smart TV and seeing a smeared, laggy mess. Learning the basics of connecting retro consoles to a modern TV will save you from wasting money on terrible adapters.
Get exclusive first access to rare restocks, graded drops, and secret discount codes before anyone else.
Console Model
Native Libraries Played
Best Budget Video Output
Key Hardware Quirk to Watch
PlayStation 2 (SCPH-39004 or SCPH-70004+)
PS1 and PS2 (PAL)
Component (YPbPr) or RGB SCART
Avoid early SCPH-30004 models with tired laser mechanisms; don't forget a PS1 memory card for PS1 saves.
Nintendo Wii (RVL-001)
Wii and GameCube (PAL)
Component (480p) or Wii2HDMI
Must be the RVL-001 model with flip-top flaps for GameCube controller and memory card ports.
Sega Mega Drive (Model 1 or 2)
Mega Drive / Genesis
RGB SCART
Model 1 and Model 2 use entirely different AV pinouts and power supply polarities.
Game Boy Advance SP (AGS-001)
GB, GBC, and GBA (Region-Free)
Built-in Frontlit Screen
Uses a proprietary charger and rechargeable battery that may need a cheap replacement if swollen.
PlayStation 2 (SCPH-39004 or Slim SCPH-70004+)
The PlayStation 2 is arguably the king of budget retro game collecting for beginners. Every PAL PS2 plays both PS2 and original PlayStation (PS1) discs out of the box. If you prefer the original "Fat" design, look for the SCPH-39004 or SCPH-50004 revisions (the "04" denotes a PAL European system); the 39004 is loud like a jet engine, but its optical drive is built like a tank. If you prefer a Slim, the SCPH-70004 and later revisions save space, though you should check that the disc ribbon cable isn't lifting up and scratching discs. Remember that while PS1 games run on a PS2, you still need an original PS1 Memory Card (SCPH-1020) to save your progress in PS1 titles.
Nintendo Wii (RVL-001 Model Only)
Original Nintendo GameCube consoles and their official controllers have climbed steeply in price across Europe, making the launch-era Nintendo Wii (RVL-001) the ultimate budget secret. Inside, the original Wii is essentially an overclocked GameCube. By lifting the top plastic flaps on an RVL-001 unit, you reveal four native GameCube controller ports and two memory card slots. Paired with affordable Wii Component cables, it outputs clean 480p progressive scan video, completely bypassing the exorbitant cost of an official GameCube Digital AV cable. Avoid the later RVL-101 (Wii Family Edition) and RVL-201 (Wii Mini), as Nintendo stripped out all GameCube compatibility in those revisions.
Sega Mega Drive (Model 1 or Model 2)
If you want the tactile satisfaction of slotting cartridges into a 16-bit console, the Sega Mega Drive is significantly gentler on a €200 budget than the Super Nintendo. Sega shipped most Mega Drive games in sturdy black plastic clamshell cases rather than the fragile cardboard boxes Nintendo used. As a result, finding complete, boxed PAL Mega Drive games is much easier and cheaper today. Both the original Model 1 (1600/1601) and the smaller Model 2 (MK-1631) are reliable workhorses, though the Model 1 with "High Definition Graphics" printed on the shell is prized for its superior internal audio chip.
Game Boy Advance SP (AGS-001)
Handheld collectors can skip television cable headaches entirely with the Game Boy Advance SP. While collectors pay a hefty premium for the backlit AGS-101 revision, the standard frontlit AGS-001 fits comfortably inside a beginner budget and lets you play in the dark without expensive screen modifications. It plays three generations of cartridges natively: original monochrome Game Boy, Game Boy Color, and Game Boy Advance.
Understanding PAL Territory Realities: 50Hz, Borders, and Language Codes
Most online collecting guides are written for North American (NTSC) buyers, which leaves European newcomers vulnerable to costly mistakes. A solid PAL retro gaming guide must address two unique European hurdles: refresh rates and language locks.
The 50Hz vs 60Hz Speed Trap
Analogue televisions in Europe ran on a 50Hz electrical standard (PAL), whereas North America and Japan used 60Hz (NTSC). During the 8-bit and 16-bit eras (NES, Master System, SNES, Mega Drive), many developers simply dropped their games onto PAL cartridges without adjusting the code. Consequently, unoptimised PAL classics like Sonic the Hedgehog on the Mega Drive or Super Mario Kart on the SNES run roughly 17.5% slower than intended, complete with slowed-down music and thick black borders at the top and bottom of the screen.
Some developers—most notably Rare with Donkey Kong Country on the SNES—properly optimised their PAL games for full speed and full screen. By the sixth generation (Dreamcast, PS2, GameCube, Xbox), many games introduced a PAL60 selector screen on boot, letting European players enjoy full-speed 60Hz gameplay cleanly.
Decoding European Region and Language Codes
Unlike North America, where virtually every release is in English, PAL territory games were often localised for specific countries. Before buying an RPG or text-heavy adventure game like Pokémon, Final Fantasy, or The Legend of Zelda, always check the cartridge code and the back of the box.
On Nintendo cartridges and boxes (NES through DS), look at the three-letter suffix at the end of the serial code:
UKV: United Kingdom (English language guaranteed).
NOE: Nintendo of Europe / Germany (Frequently German text only on older RPGs).
FAH: France and Holland (Often French text on RPGs, or French/Dutch packaging).
FRA / ITA / ESP: Country-specific releases for France, Italy, and Spain.
EUR: General European release, usually containing a Multi-5 language select screen (English, French, German, Spanish, Italian).
While an arcade racer in German is perfectly playable, accidentally buying an NOE copy of Pokémon Sapphire or a French SLES release of Final Fantasy VII means the game will be locked entirely to that language with no English option in the settings menu.
The standard yellow, white, and red Composite AV cable bundles all video information into a single yellow RCA plug. Worse still, retro consoles from the PS1, SNES, and Mega Drive era output a non-standard resolution called 240p (or 288p in PAL). Modern flatscreen TVs do not recognise 288p; they misinterpret the signal as 576i (interlaced) video, attempting to de-interlace it on the fly. This creates visual artefacts, muddy colours, and severe input lag that makes timing jumps in platformers almost impossible.
The RGB SCART Advantage in Europe
Here is where European collectors actually have a massive advantage over Americans: the SCART socket. If your television still has a full 21-pin SCART input on the back, do not use the little plastic RCA-to-SCART adapter block that came with your console—that is still sending a blurry Composite signal.
Instead, spend €15 to €25 on a dedicated, fully wired RGB SCART cable. Consoles like the SNES, Mega Drive, PS1, PS2, and GameCube output raw Red, Green, and Blue video signals natively. A true RGB SCART cable separates these signals, resulting in razor-sharp pixels and vibrant colours with zero extra hardware required.
Budget Solutions for HDMI-Only TVs
If your modern TV only has HDMI ports, avoid the generic €10 "AV2HDMI" white plastic boxes sold on general marketplaces. They take the worst possible video signal (Composite), stretch the 4:3 picture into a fat 16:9 widescreen image, and add noticeable controller delay.
Instead, allocate your 20% cable budget toward console-specific HDMI solutions:
For Wii and PS2: Use a Wii2HDMI or PS2 to HDMI dongle that taps into the console's native Component (YPbPr) video signal rather than Composite.
For Nintendo and Sega Systems: If your budget stretches slightly further down the line, look into RAD2X cables, which pull the clean RGB signal and line-double it to 480p over HDMI with zero lag.
Spotting Fakes and Reproductions Before You Buy
As retro prices have risen, online marketplaces have been flooded with cheap counterfeit cartridges—often politely labelled as "repros" or "new". Knowing how to spot fake retro games is crucial, especially when shopping for Game Boy Advance, Nintendo DS, SNES, and Mega Drive titles. Handheld Pokémon games (Emerald, FireRed, Platinum, HeartGold) are the most heavily bootlegged games on the planet.
Before handing over your cash, run through this physical authentication checklist:
Check the Cartridge Screw: Original Nintendo cartridges (GB, GBC, NES, SNES, N64) use security screws known as Gamebit screws (3.8mm or 4.5mm), while GBA cartridges use Tri-wing screws. If you see a standard cross-head Phillips screw on the back of a Nintendo cartridge, the shell is either a fake or has been tampered with.
Look for the Stamped Factory Number: Genuine Game Boy, Game Boy Color, and Game Boy Advance labels have a tiny, two-digit number/letter code physically indented into the paper label on the right-hand side. Counterfeit labels are almost always completely flat and overly glossy.
Inspect the Moulding and Font: On a GBA cartridge, flip it over and check the recessed Nintendo logo on the back, as well as the "GAME BOY ADVANCE" lettering across the front top lip. Fakes use thicker, deeply carved, or rough-edged fonts compared to the shallow, crisp moulding on genuine shells.
Examine the PCB Edge Connector: Peer into the bottom slot of the cartridge. Original circuit boards have neatly bevelled edges and gold-plated pins. On genuine GBA games, you can actually see Nintendo printed in gold or white lettering on the green board right above the pins.
Verify Optical Discs: Counterfeit discs are rarer than fake cartridges, but resurfaced or home-burned discs exist. Authentic PAL PlayStation 1 discs always have a jet-black underside (unless it is a silver Platinum demo or a late reprint on PS2 DVD media, which it shouldn't be for standard PS1 games). Genuine PS1, PS2, and GameCube discs also feature tiny holographic Sony/Nintendo logos and laser-etched mastering codes around the inner mirror ring that a standard CD/DVD burner cannot replicate.
Essential Day-One Maintenance Gear Under $15
You do not need soldering skills to maintain a beginner collection, but you do need three cheap items before you insert a 30-year-old cartridge into your console.
First, break the childhood habit: never blow into your cartridges. Your breath contains moisture and tiny droplets of saliva. While moisture might temporarily bridge an electrical connection, over months and years it oxidises and corrodes the brass contact pins inside the cartridge and the console slot.
Instead, spend €15 on a basic starter toolkit:
99.9% Isopropyl Alcohol (IPA) and Cotton Swabs: Around 90% of "broken" cartridges found at flea markets simply have thirty years of grime and oxidation coating their brass pins. Dip a cotton swab in 99% IPA (avoid 70% rubbing alcohol, which contains too much water), scrub the cartridge pins inside the slot until the black dirt stops coming off, wipe dry with the clean side of the swab, and wait thirty seconds for the alcohol to evaporate.
3.8mm and 4.5mm Gamebit Screwdrivers (plus a Tri-wing): A pair of these security bits costs pennies. They allow you to open cartridges in seconds to clean stubborn pins, verify that the internal PCB is authentic Nintendo or Sega hardware, and check the internal CR2025 or CR1616 coin-cell battery used for saving games to ensure it isn't leaking acid onto the circuit board.
FAQ
What is the cheapest retro console to start collecting for?
The PlayStation 2 and Nintendo Wii (model RVL-001) are the most affordable starting points in Europe. Millions of units were sold across PAL territories, keeping hardware prices low, and both consoles offer full backward compatibility with the previous generation (PS1 and GameCube respectively), effectively giving you two consoles for the price of one.
Can I play American or Japanese retro games on a European PAL console?
Most home consoles from the NES through the PlayStation 2 are strictly region-locked, meaning NTSC (US and Japan) cartridges or discs will not boot on an unmodded PAL console without a region-bypass disc or hardware modification. However, Nintendo handhelds from the original Game Boy right through to the Game Boy Advance and Nintendo DS Lite are completely region-free, allowing you to play US and Japanese cartridges without restriction.
What does CIB mean in retro gaming?
CIB stands for Complete In Box. When a game is listed as CIB, it includes the original game cartridge or disc, the original retail box or plastic case, the inner cartridge tray (if applicable), and the original paper instruction manual.
Why do my old games look blurry on a modern Smart TV?
Retro consoles output low-resolution analogue signals (240p/288p or 480i/576i) designed for old cathode-ray tube (CRT) televisions. When you plug a standard yellow Composite cable into a modern flatscreen TV, the TV misinterprets the signal and stretches it poorly. Using a true RGB SCART cable, Component cable, or a dedicated gaming HDMI converter fixes this issue and restores sharp image quality.
Ready to Start Your Collection?
Approaching retro game collecting for beginners with a clear plan ensures your first €200 goes toward great gameplay rather than incompatible cables or bootleg cartridges. Pick one reliable, backward-compatible console like a PAL PlayStation 2 or an RVL-001 Wii, invest in a proper RGB SCART or Component video connection, and focus on common, well-optimised releases first. When you are ready to skip the gamble of untested flea-market finds, we keep a rotating selection of cleaned, region-verified, and fully tested consoles, cables, and authentic PAL games at RetroBroker so you can plug in and play on day one.