Ultimate Retrobright Guide: How to Restore Yellowed Consoles Safely
Published on 8/23/2026
Ultimate Retrobright Guide: How to Restore Yellowed Consoles Safely
Discovering your pristine childhood hardware has turned an ugly, nicotine-like shade of yellow can be a harsh reality for any collector. Learning how to retrobright consoles safely allows you to reverse this chemical degradation without destroying the fragile plastic or compromising its historical value. This guide covers the exact methods, materials, and precautions needed to bring your vintage gaming hardware back to its original factory appearance.
The Science: Why Your Classic Consoles Turn Yellow
The yellowing of vintage gaming hardware is not the result of a dirty home or poor care, but rather a complex chemical reaction. In the 1980s and 1990s, manufacturers injection-moulded console shells using ABS (Acrylonitrile Butadiene Styrene) plastic. To meet strict consumer fire safety regulations, manufacturers mixed bromine-based flame retardants into the ABS resin. Over decades, exposure to ambient heat from the console's power supply and ultraviolet (UV) light breaks the chemical bonds within the plastic.
When these bonds break, the bromine molecules destabilise and undergo photo-oxidisation. The oxidised bromine turns a murky brown or yellow and slowly migrates to the surface of the shell. Because this is a structural molecular change rather than a layer of surface grime, standard household cleaners and scrubbing will never remove yellowing from plastic.
This chemical variance also explains the notorious two-tone effect seen on the yellowed Super Nintendo PAL (model SNSP-001A) and the Commodore Amiga 500. During factory assembly, Nintendo and Commodore sourced ABS plastic parts from multiple different vendors. One batch of plastic often contained a slightly different ratio of flame retardant chemicals than another. As a result, you frequently find consoles with a perfectly grey top shell bolted to a heavily yellowed bottom shell, simply because the two pieces aged at entirely different chemical rates.
Comparing Retrobright Methods: Liquid vs. Cream vs. Vapor
When deciding how to retrobright consoles, you must choose a delivery method for the hydrogen peroxide. The retro gaming community has developed three primary techniques over the years, each with distinct advantages and severe risks.
| Method | Peroxide Type | Pros | Cons | Best Used For |
|---|---|---|---|---|
| Liquid Submersion | 9% to 12% Liquid Bath | Highly uniform results, safest for flat panels. | Expensive to fill large tubs, requires heavy weights. | High-value consoles, handhelds, delicate controllers. |
| Cream / Gel | Salon Developer Cream | Very cheap, uses minimal product, easy to apply. | High risk of permanent white streaks (marbling). | Keycaps, small non-flat accessories, cables. |
| Vapor Method | 12% to 40% Liquid (Heated) | Uses very little liquid, excellent for massive parts. | Difficult to manage heat safely, requires airtight tub. | Large PC cases, full Amiga shells, arcade panels. |
The cream method, which involves painting hair salon developer onto the plastic and wrapping it in cling film, is the cheapest and most common beginner mistake. As the cream heats up under UV light, it dries and pools unevenly. This creates permanent, irreversible white streaks across flat surfaces known as marbling.
For genuine retro console restoration, liquid submersion combined with consistent UV LED strips is the undeniable gold standard. Submerging the parts ensures a perfectly uniform chemical reaction across every square inch of the plastic. Alternatively, the newer vapor method uses a heated mat beneath a sealed tub to turn a small amount of liquid peroxide into a reactive gas. This is highly effective for massive shells where a liquid bath would be prohibitively expensive, though it requires strict temperature monitoring to prevent warping the ABS plastic.
Pre-Treatment: Teardown and Deep Cleaning
You must never attempt to retrobright a fully assembled console. Hydrogen peroxide is a highly corrosive oxidiser that will quickly destroy sensitive electronic components. If the liquid seeps onto a motherboard, it will eat away the copper traces; if it touches the internal RF shielding, it will cause rapid and aggressive rusting. You must completely disassemble the hardware down to the bare plastic shell.
When tearing down older hardware, particularly when retrobrighting Dreamcast consoles (model HKT-3030) or original Game Boy systems (DMG-01), handle the internal plastic clips with extreme care. Decades-old ABS plastic is already brittle, and snapping a vital mounting post will ruin the structural integrity of your shell. We highly recommend using plastic spudgers rather than metal screwdrivers to gently pry the plastic case halves apart.
Once you have isolated the bare plastic shells, wash them thoroughly in a sink with warm water and a mild, degreasing dish soap. Everyday contaminants like finger oils, dust, and old furniture polish create an invisible barrier on the plastic. If left uncleaned, this barrier prevents the peroxide from penetrating evenly, resulting in patchy restoration. Use a soft-bristled toothbrush to gently scrub out the panel lines, controller ports, and ventilation grilles.
Shop the gear from this story
Hand-matched to what you’re reading — tested, and covered by our warranty.


The Liquid Submersion Method Step-by-Step
Setting up a proper hydrogen peroxide retro console bath requires preparation and patience. Rushing the process or guessing the chemical ratios is the fastest way to permanently ruin vintage hardware.
Here is the safest step-by-step method for liquid submersion:
- Prepare the Container: Find a clear plastic storage tub large enough to hold your console shells without the parts overlapping. Line the outside of the tub with aluminium foil to reflect light inwards.
- Set up the Lighting: While direct summer sunlight works, it is entirely dependent on the weather. UV light retrobrighting is far safer and more consistent. Wrap flexible UV LED strips around the outside of the clear tub, pointing inwards towards the bath.
- Submerge and Weigh Down: Fill the tub with a 9% to 12% (30 to 40 volume) liquid hydrogen peroxide solution. Because ABS plastic is buoyant, the shells will float to the surface. Place heavy glass marbles or small rocks inside sealed ziplock bags, and rest these bags gently on the plastic to keep them fully submerged.
- Monitor the Reaction: Turn on the UV lights and check the plastic every two to three hours. Lift the pieces out wearing heavy rubber gloves, rinse them briefly, and inspect the colour matching.
Never leave vintage plastics unattended in a peroxide bath for days at a time. Over-exposure causes a phenomenon known as "blooming", where the plastic is over-bleached into an unnatural, chalky white state that feels rough to the touch.
Post-Treatment: Neutralising and Protecting the Plastic
Once the shell has returned to its original factory colour, you must immediately halt the chemical reaction. Transfer the plastic pieces to a sink or bathtub and flush them with copious amounts of cold running water for at least five minutes. Any residual peroxide left hiding in the screw threads or deep panel lines will continue to react with ambient light, degrading the plastic over time.
After drying the shell thoroughly with a clean microfibre cloth, it is highly advisable to apply a high-quality UV protectant spray. Products like 303 Aerospace Protectant help rehydrate the dry plastic and leave a microscopic layer that deflects everyday UV rays. While this will not stop the chemical degradation forever, it significantly delays the return of the yellowing.
When reassembling the restored console, proceed with extreme caution. Understanding means understanding that the chemical process slightly weakens the structural integrity of the ABS. When inserting the original metal screws back into the plastic posts, do not force them. Turn the screwdriver anti-clockwise until you feel a soft click, indicating the screw has dropped perfectly into the original thread, and then tighten it gently.
Keep the collection going
More retro finds picked to match this article.

Keep reading
More stories from the Retrobroker blog.
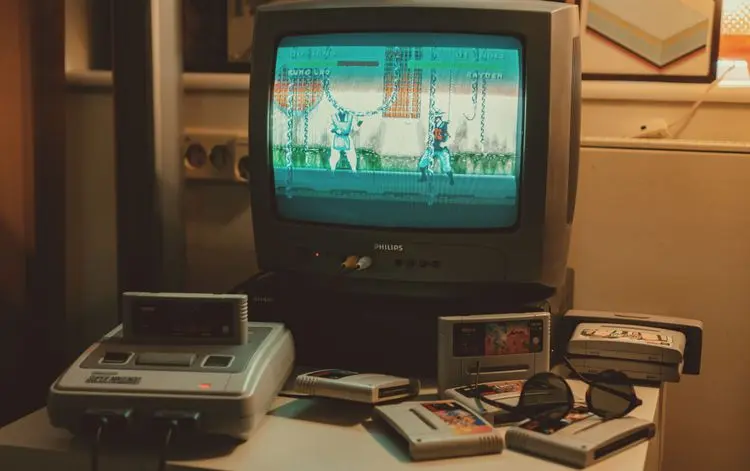
PAL vs NTSC-U vs NTSC-J: Understanding Video Game Region Codes
Unravel the differences between PAL, NTSC-U, and NTSC-J video game regions. Discover how region codes impact gameplay and compatibility. Start your retro gaming journey today!
Unlocking Nostalgia: How to Start Your Own Retro Gaming Collection
Discover the joy of retro gaming collection. Tips for beginners. Nostalgic journey through gaming history. Start your adventure today!
Awaiting New Challengers
Join The Bounty Board
Get exclusive first access to rare restocks, graded drops, and secret discount codes before anyone else.