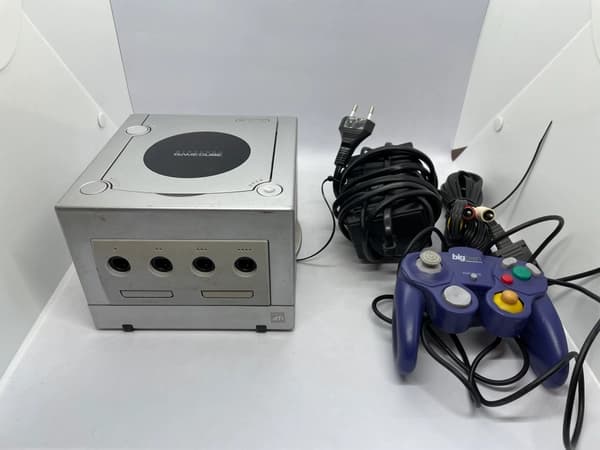
Retro Console Troubleshooting Guide: Fix Common Problems Fast
Published on October 25, 2024
Troubleshooting Guide for Common Retro Console Problems
Dust off those cartridges and power up your nostalgia! Retro gaming is experiencing a resurgence, but sometimes, those classic consoles can be a bit temperamental. Before you declare your favorite system a lost cause, consult this troubleshooting guide for common retro console problems. You might be surprised how easily you can get back to gaming glory.
Power Problems: The First Hurdle
One of the most common issues is a console that simply won't power on. Before panicking, check the following:
- Power Supply: Ensure the power cable is securely plugged into both the console and the wall outlet. Try a different outlet to rule out a faulty power source. If you have another compatible power supply, test with that. A frayed or damaged power cable should be replaced immediately.
- Power Switch: The power switch itself can wear out over time. Test it by firmly pressing and releasing the switch multiple times. If it feels loose or unresponsive, it might need cleaning or replacement.
- Internal Fuse: Some consoles have internal fuses that can blow. Consult your console's manual or online resources for information on fuse replacement. Caution: Working with internal electronics can be risky. If you are uncomfortable, seek professional assistance.
Video Woes: No Signal or Distorted Picture
A blank screen or distorted image can be frustrating. Here's where to start troubleshooting:
- Cable Connections: Ensure the video cable is properly connected to both the console and the television. Try a different cable if possible. Older connections, like RF, can be particularly sensitive.
- TV Input: Double-check that your television is set to the correct input channel.
- Console Region: If you're using a console from a different region than your television, you might need a converter.
- Cartridge Issues: Dirty or damaged game cartridges can cause video problems. Clean the cartridge contacts with a soft, lint-free cloth and isopropyl alcohol (90% or higher).
Explore products
Explore more products from our catalogue.
Audio Issues: Silent Gameplay
Silence can be golden, but not when it comes to your retro games. Try these steps:
- Volume Control: Make sure the volume on both the console and your television is turned up.
- Audio Cable Connections: Verify that the audio cables are firmly connected. If applicable, check the headphone jack as a disconnected headphone can sometimes mute the main audio output.
- Cartridge Cleaning: Just like with video issues, a dirty cartridge can cause audio problems. Clean the contacts as described above.
Controller Complications: Unresponsive Buttons
A malfunctioning controller can seriously hamper your gaming experience. Consider these fixes:
- Connection: Make sure the controller is firmly plugged into the console. If the port feels loose, it might need repair.
- Button Cleaning: Dust and debris can build up under the buttons. Use a can of compressed air to blow out any dirt. For stickier situations, carefully disassemble the controller (consult online resources) and clean with isopropyl alcohol.
- Controller Cord: If you have a wired controller, check the cord for any damage or kinks.
Game Cartridge Glitches: Freezes and Crashes
If your game freezes or crashes, the culprit might be the cartridge itself:
- Cleaning: Thoroughly clean the cartridge contacts.
- Blowing into the Cartridge: While a classic trick, avoid this! Blowing introduces moisture and can actually worsen corrosion.
- Try Another Game: Test a different game to isolate the problem. If other games work fine, the original cartridge might be faulty.
Seeking Professional Help
If you've exhausted all troubleshooting options, it might be time to consult a professional retro game repair service. They have the expertise and equipment to diagnose and fix more complex issues.